


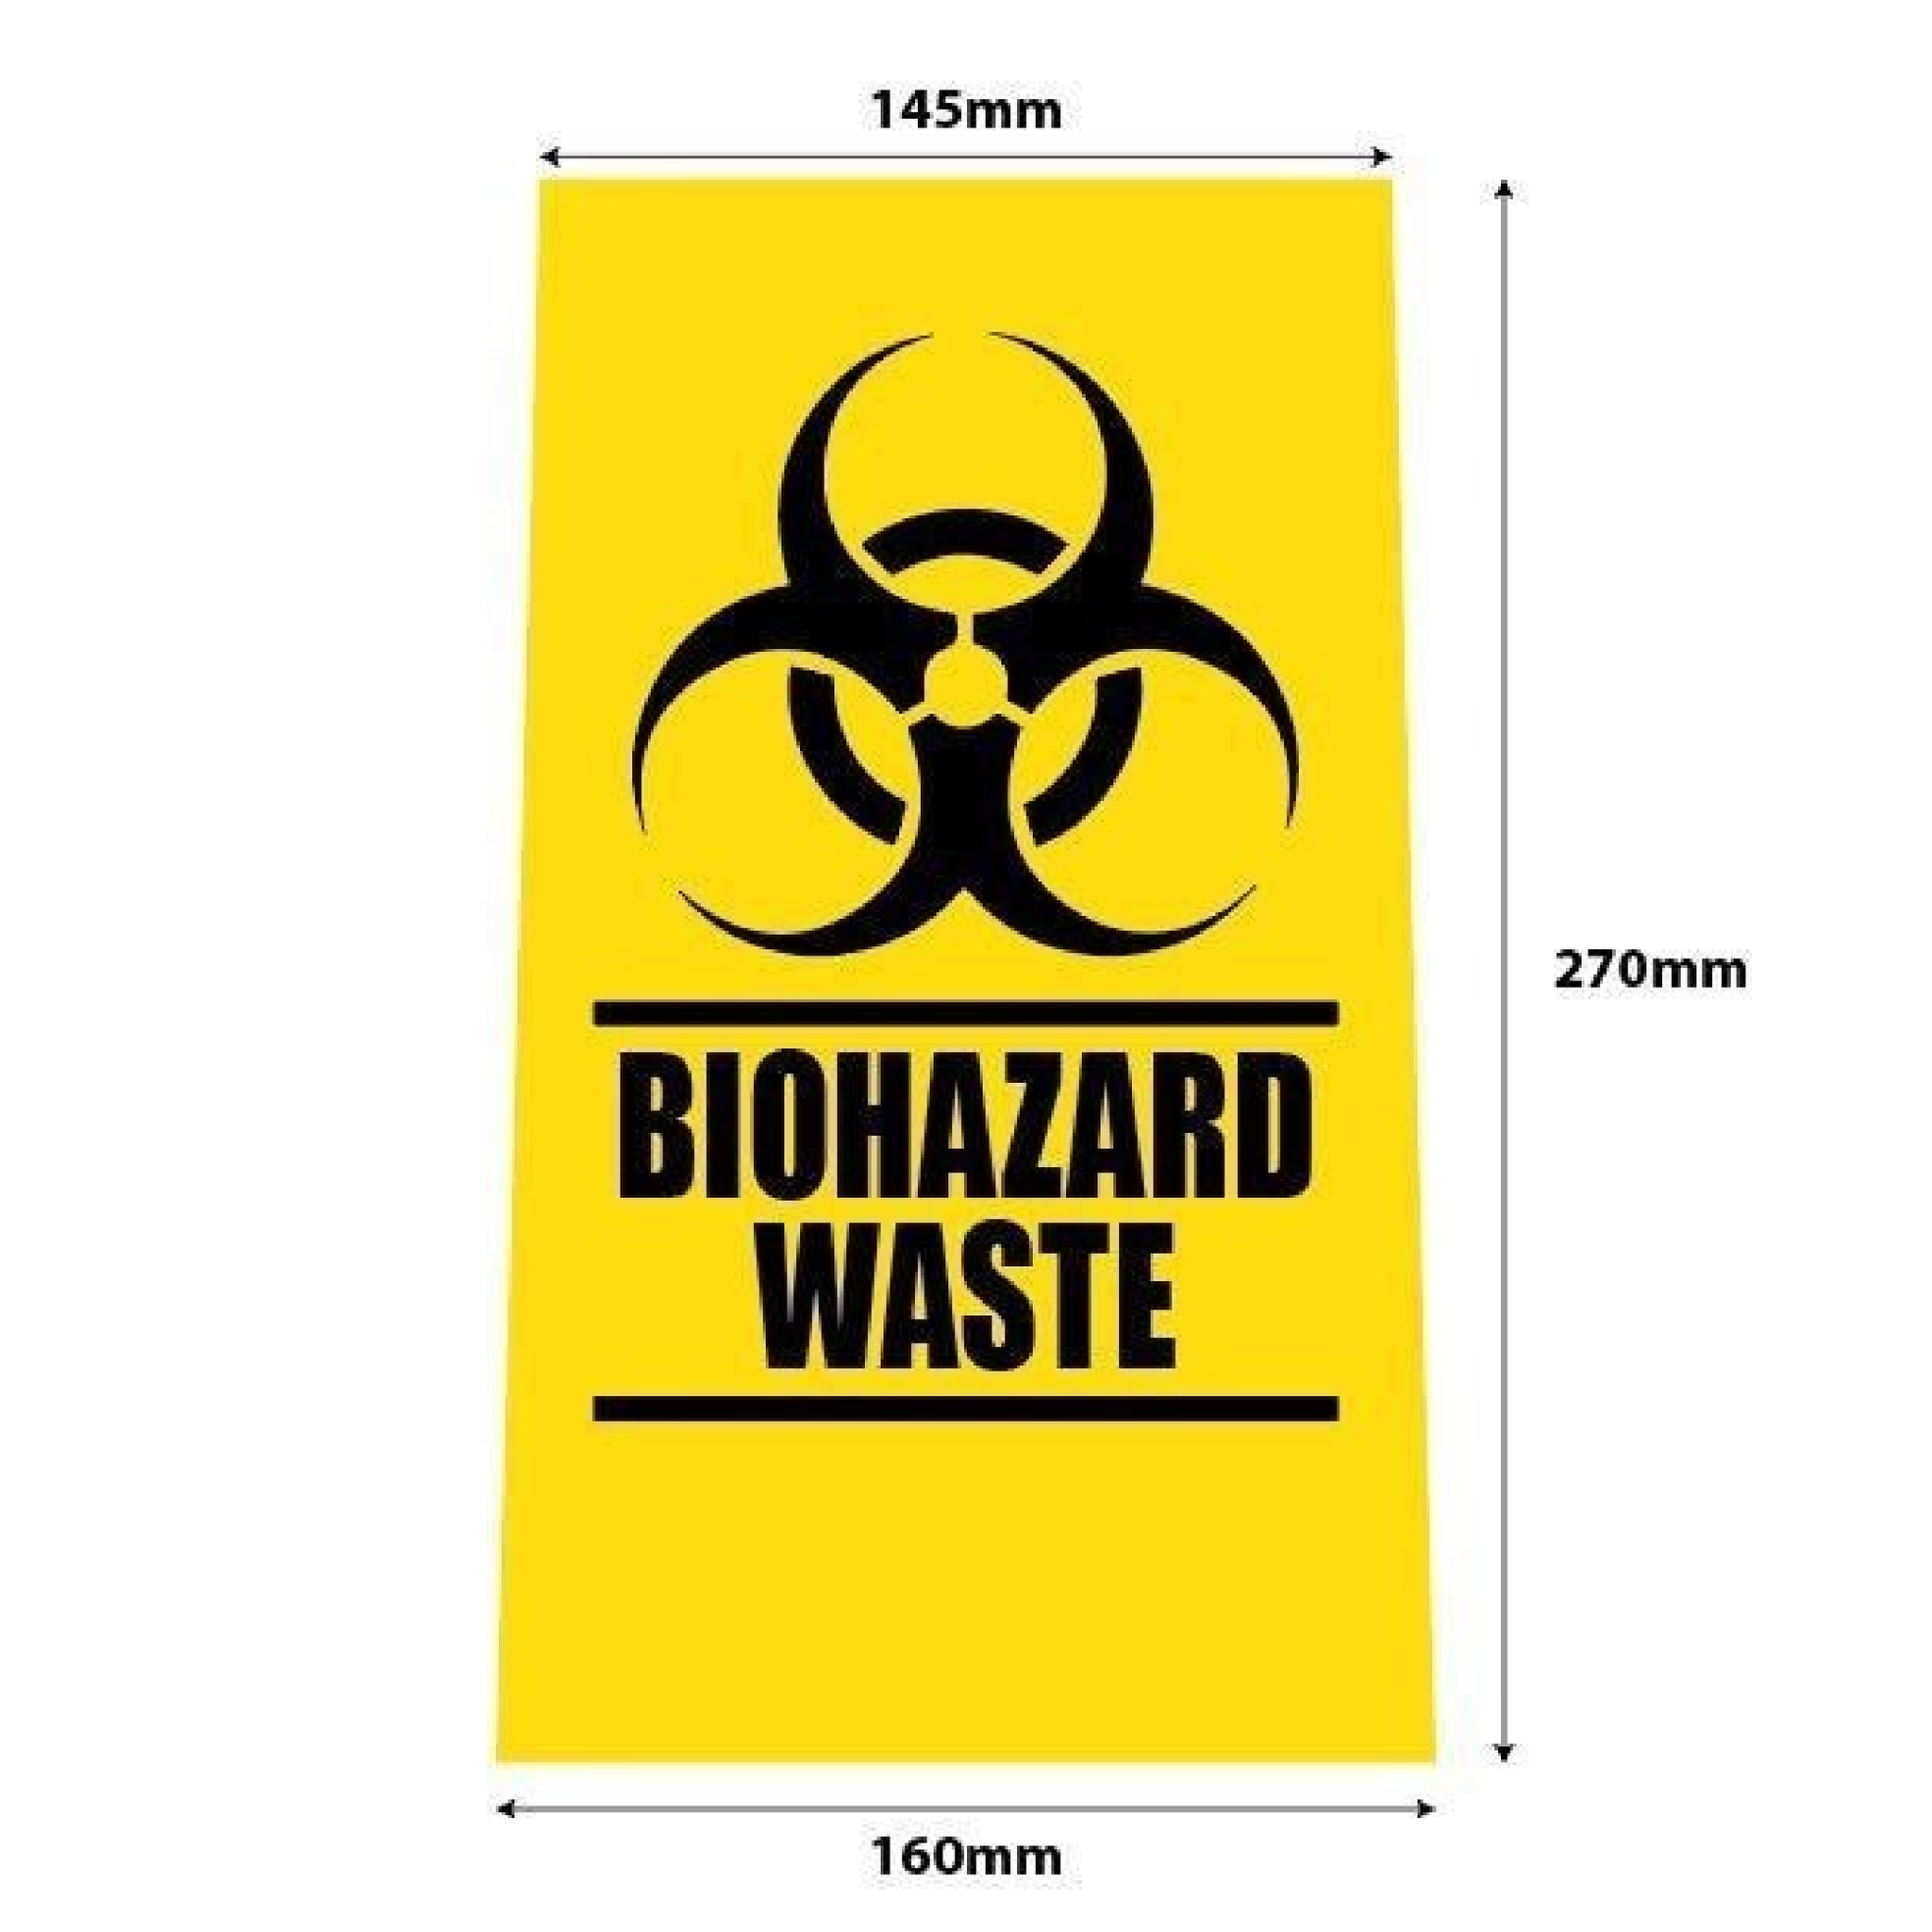
Dimensions:
Image for illustrative purposes only
*Due to the many variations in monitors and browsers, color samples may appear different on different
-----
Complete Guide to the AUSKO Biohazard Sticker
Proper identification of biohazard waste is essential for maintaining a safe, hygienic, and compliant environment. The AUSKO Biohazard Sticker is designed to provide clear, high-visibility hazard identification for bins, clinical containers, and collection stations used for biohazardous waste.
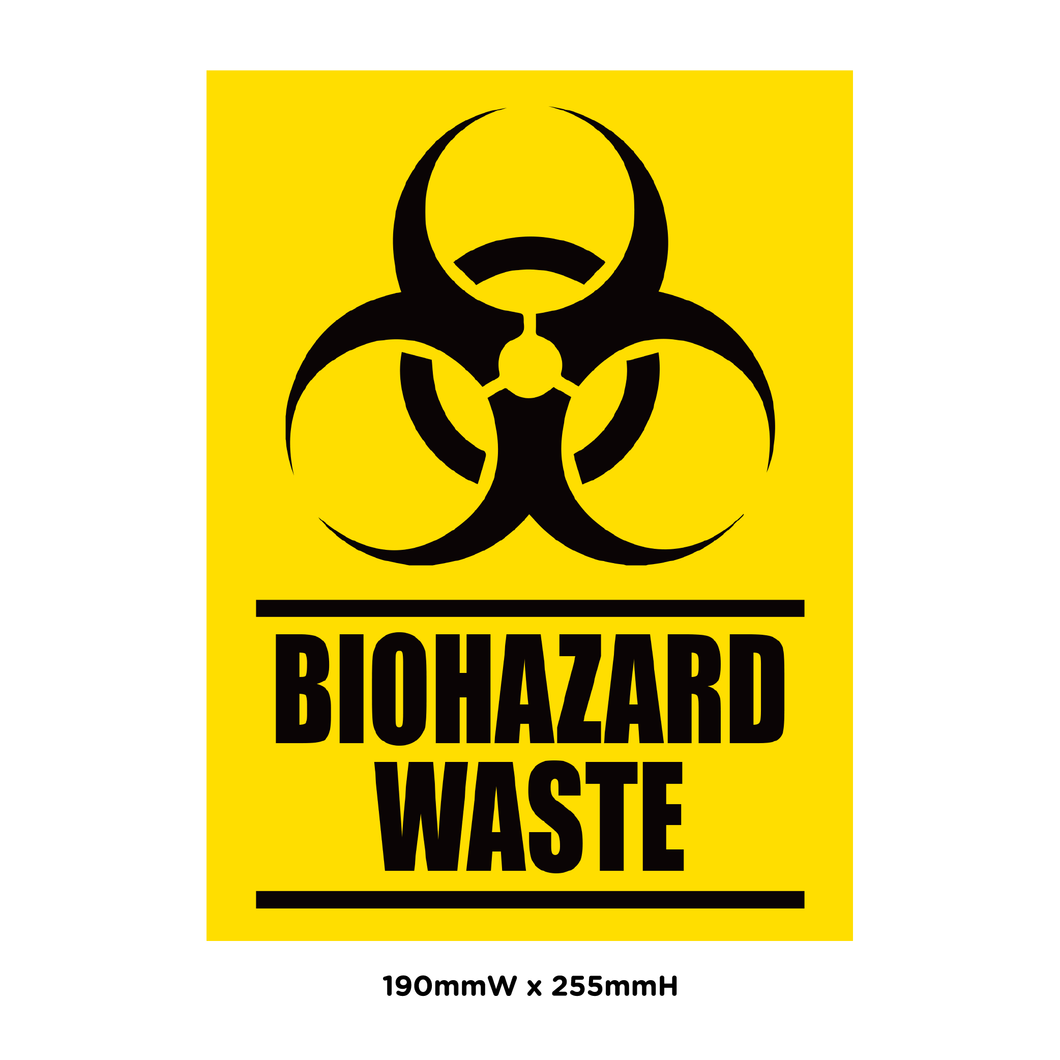
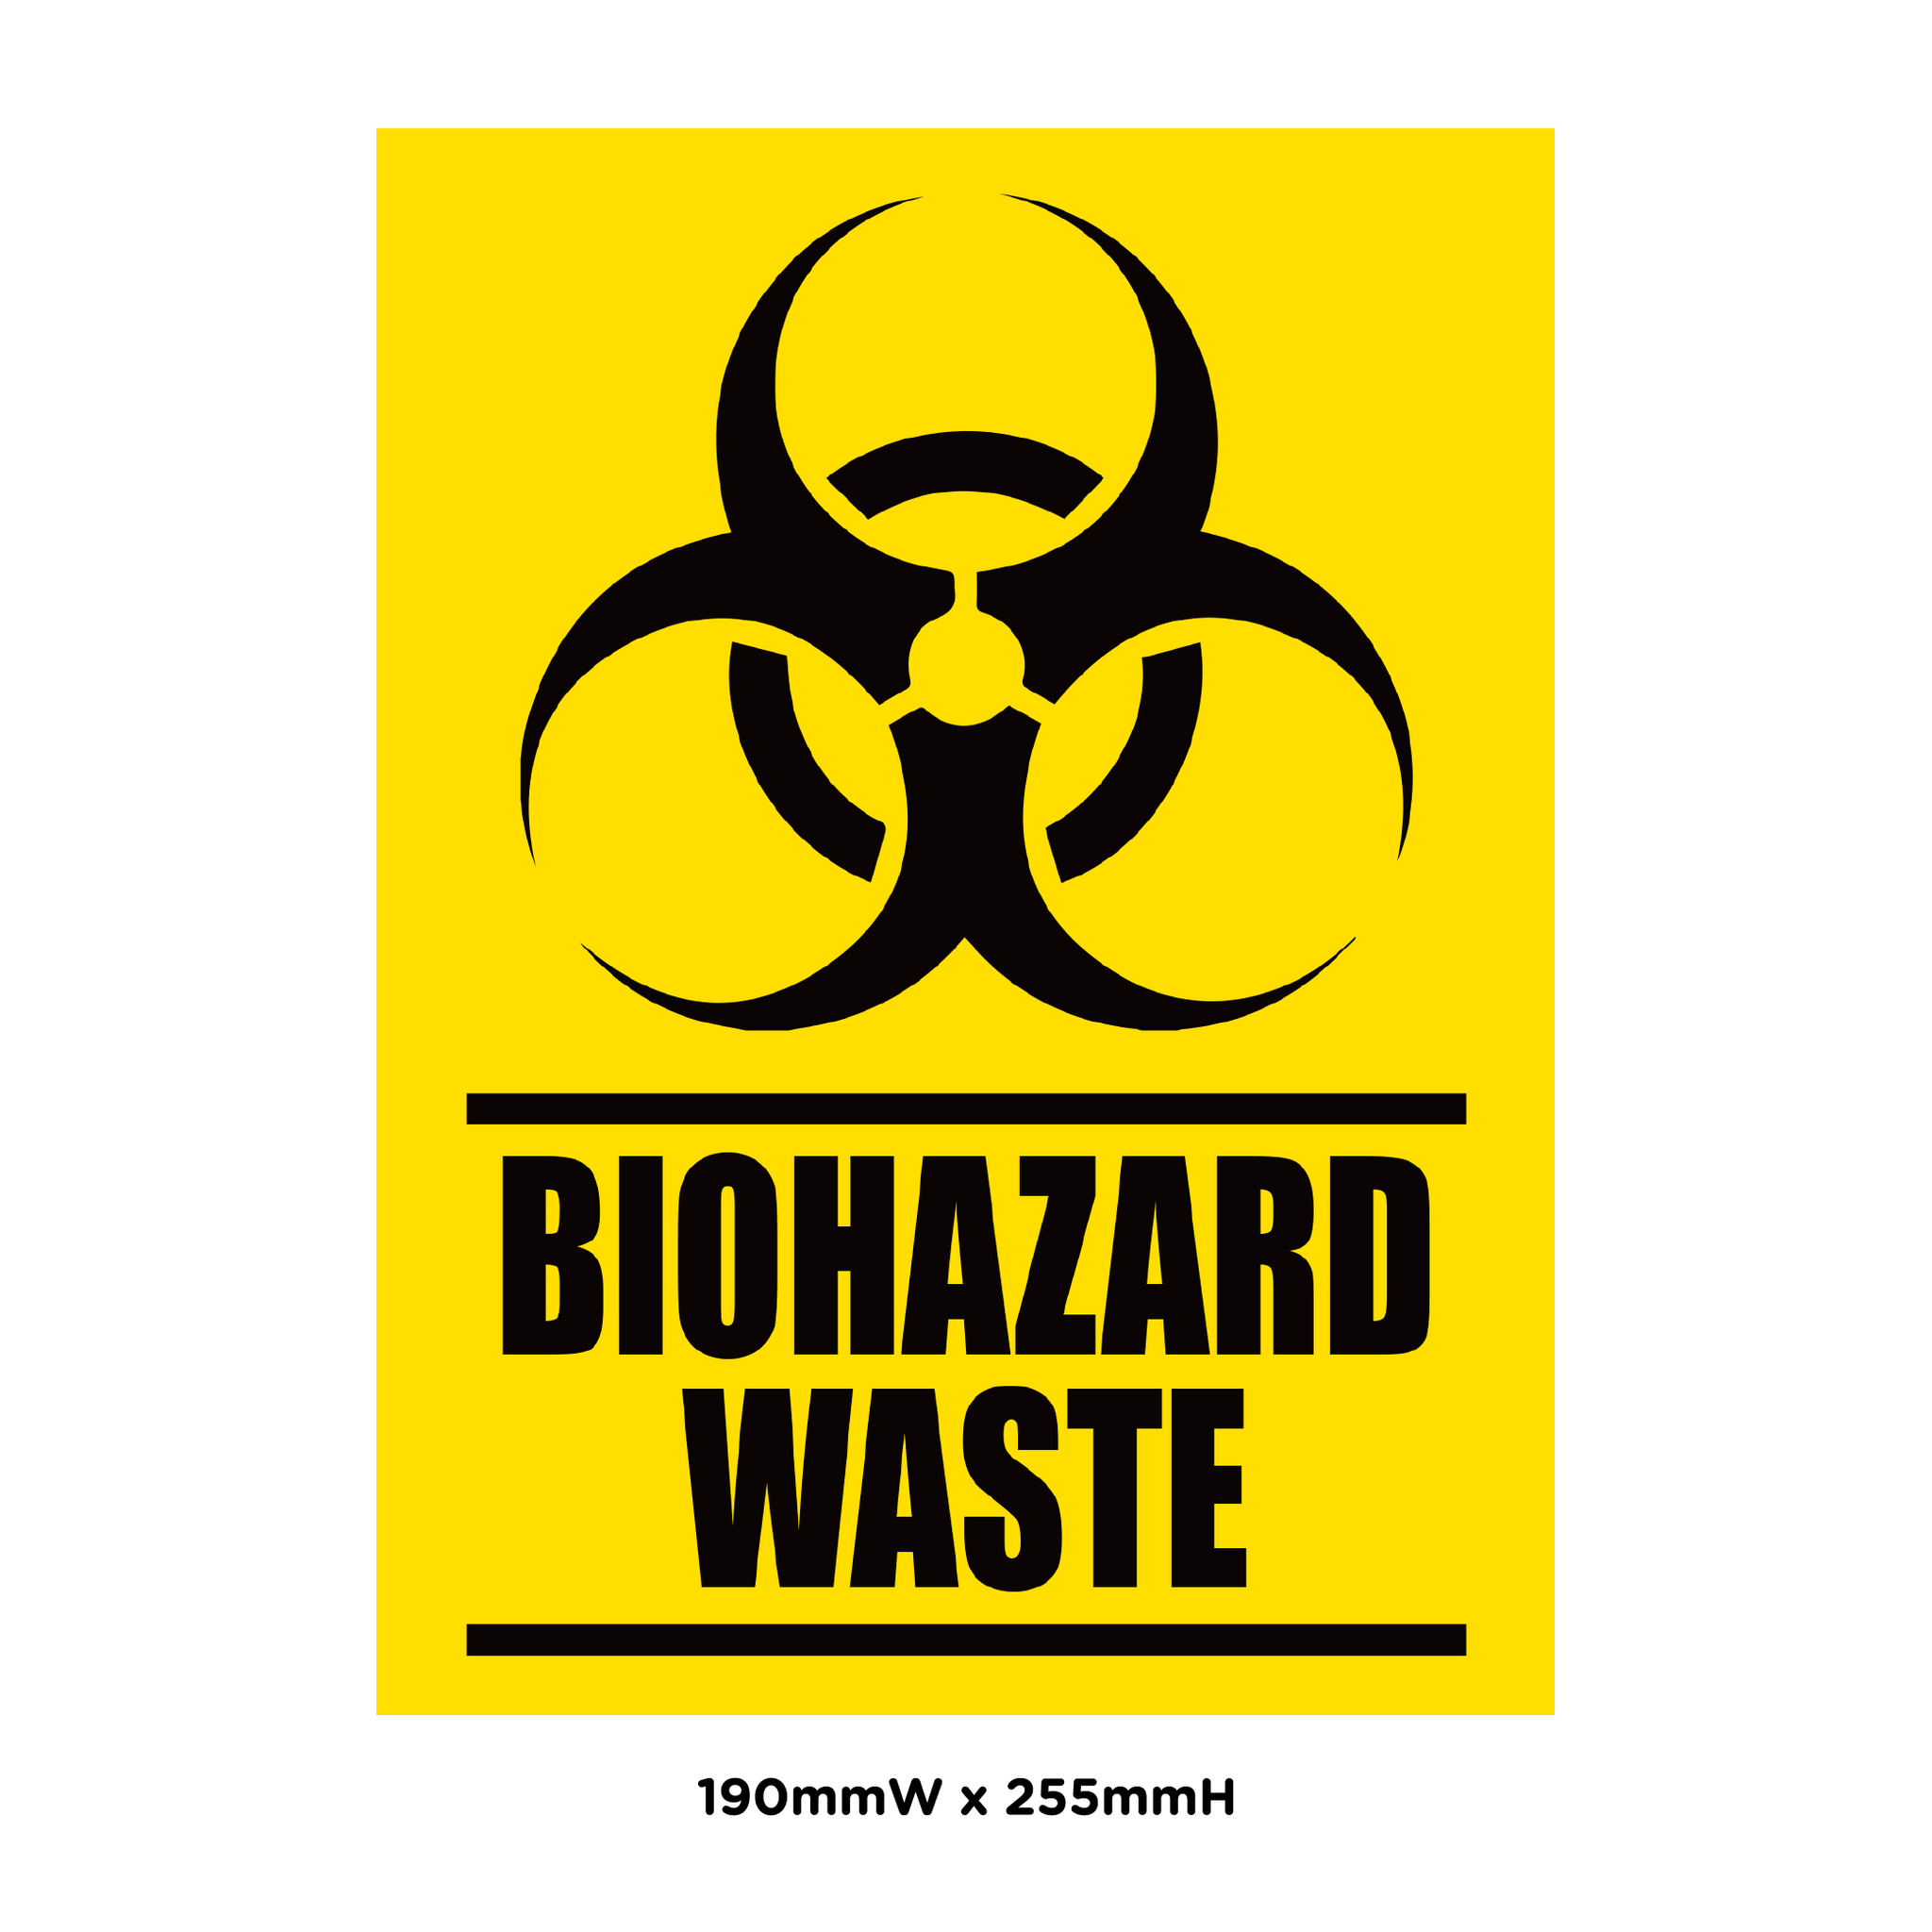
Featuring the internationally recognized biohazard symbol alongside bold typography, this sticker ensures that staff, cleaning teams, and visitors instantly identify biohazardous waste points—reducing handling errors and supporting strict bio-safety compliance.
This comprehensive guide covers everything you need to know about the AUSKO Biohazard Sticker—including sizing specifications, material properties, sector-specific uses, application guidelines, and preventative maintenance protocols.
What Is the AUSKO Biohazard Sticker?
The AUSKO Biohazard Sticker is a heavy-duty, adhesive warning label engineered specifically for mounting onto medical waste bins, clinical wheelie bins (MGBs), sharps disposal housings, laboratory receptacles, and industrial hazardous waste containers.
Rather than serving merely as a basic tag, Biohazard stickers fulfill essential behavioral and safety functions:
-
Universal Hazard Identification: Features the tri-foil biohazard symbol and bold text, ensuring immediate hazard recognition that transcends language barriers.
-
Risk Mitigation: Prevents cross-contamination by warning personnel not to dispose of general, non-infectious, or food waste inside biohazard collection bins.
-
Staff & Custodial Protection: Alerts janitorial staff, waste handlers, and healthcare workers to handle the container with appropriate Personal Protective Equipment (PPE).
-
Regulatory Compliance: Assists healthcare facilities, laboratories, and industrial sites in meeting biosafety and hazardous material labeling requirements.
Key Features & Specifications
Communication effectiveness depends on high visibility, clear contrast, and fitting the specific bin dimensions used across medical and clinical facilities.
Product Specifications
-
Dimensions: 190 mm × 255 mm
-
Primary Symbol: Internationally Recognized Biohazard Symbol
-
Text Legend: Bold "BIOHAZARD WASTE" Identification
-
Application Surface: Plastic bins (HDPE/PP), stainless steel containers, clinical waste bins, and smooth powder-coated metal
Performance Advantages
-
High-Visibility Graphics: Uses vivid warning colors and high-contrast iconography for clear recognition from a distance.
-
Heavy-Duty Vinyl Base: Manufactured from flexible, tear-resistant vinyl that conforms smoothly to flat or slightly curved bin surfaces.
-
Aggressive Adhesive Backing: Formulated with a permanent acrylic pressure-sensitive adhesive that bonds securely to low-surface-energy plastics without peeling at the corners.
-
Wipe-Clean Laminated Surface: Sealed with a protective film that shields printed inks from chemical disinfectants, liquid splatters, and UV light, allowing staff to sanitize bins without smudging the warning text.
Unlabeled Bins vs. Bins Fitted with AUSKO Biohazard Stickers
Operating hazardous waste areas without clear visual hazard labeling leads to severe safety risks and regulatory non-compliance.
-
Hazard Identification: Unlabeled bins create unclear hazard risks. Bins with Biohazard stickers provide an immediate, universal warning.
-
Disposal Error Risk: Unlabeled bins carry a high risk of cross-contaminating clean or general waste streams. Biohazard stickers minimize handling errors.
-
Facility Appearance: Unlabeled areas look unorganized and non-compliant. Biohazard stickers present a professional, safety-focused appearance.
-
Staff Safety Awareness: Unlabeled containers lower hazard awareness among workers. Biohazard stickers improve communication and precaution.
-
Waste Handling Efficiency: Unlabeled bins cause confusion during sorting and transport. Biohazard stickers streamline waste handling procedures.
Sector-By-Sector Application Guide
Clear biohazard identification is mandatory across healthcare, research, and specialized industrial settings:
1. Hospitals, Medical Centres & Clinics
-
Clinical Waste Bins: Clearly marks yellow and red clinical waste wheelie bins used for infectious dressings, swabs, and disposable medical supplies.
-
Treatment & Isolation Rooms: Placed on dedicated disposal bins inside isolation wards, operating theaters, and procedure rooms.
2. Laboratories & Research Institutions
-
Biological Waste Stations: Identifies containers designated for contaminated petri dishes, pipette tips, cell culture flasks, and biological samples.
-
Educational Labs: Ensures university and school science laboratories maintain clear safety protocols for students and instructors.
3. Pharmaceutical & Biotech Facilities
-
Production Line Waste: Marks bins collecting contaminated cleanroom apparel, processing wipes, and bio-process waste.
4. Industrial & Workplace First Aid Stations
-
Workplace First Aid Rooms: Placed on dedicated disposal containers in manufacturing first aid stations for blood-borne pathogen waste management.
Step-by-Step Application & Mounting Protocol
Proper surface preparation ensures the acrylic pressure-sensitive adhesive forms a permanent, bubble-free bond with the bin surface.
Step 1: Gather Materials
Before application, ensure you have:
-
The AUSKO Biohazard Sticker (190 × 255 mm)
-
Isopropyl alcohol (or mild degreasing detergent) and a lint-free microfiber cloth
-
Measuring tape and pencil/marker (for alignment)
-
Squeegee or plastic card (for smoothing out air bubbles)
-
Masking tape (optional position guide)
Step 2: Thoroughly Clean the Mounting Surface
-
Wash off dust, oil, grease, or residue from the bin surface using warm water and soap.
-
Perform a final wipe down using isopropyl alcohol and a dry microfiber cloth to remove microscopic oils and cleaning chemical films.
-
Crucial Note: Ensure the surface is 100% dry before applying the sticker. Adhesive will not bond properly to damp surfaces.
Step 3: Measure and Align Position
-
Position the sticker on the front face or lid of the bin at eye level so it is immediately visible upon approach.
-
Use a tape measure to confirm the label is level and centered. Secure the top edge temporarily with a strip of masking tape if needed.
Step 4: Peel and Apply
-
Peel back 2 to 3 centimeters of the release paper from the top of the sticker.
-
Adhere the exposed top adhesive edge firmly onto the bin surface.
-
Slowly peel away the remaining backing paper downward with one hand while pressing the sticker onto the bin with a squeegee or microfiber cloth in smooth, overlapping side-to-side strokes.
Step 5: Remove Air Bubbles & Set
-
Firmly run the squeegee over the entire sticker surface from the center outward to push out trapped air bubbles and lock the pressure-sensitive adhesive onto the substrate.
-
Allow the adhesive to cure for 24 hours at room temperature before subjecting the bin to heavy washdowns or chemical spraying.
Preventative Maintenance & Care Protocol
Keeping safety labels clean and readable ensures long-term performance and maintains facility safety standards.
Daily to Weekly Maintenance
-
Wipe Clean During Sanitization: Wipe the laminated sticker surface with a microfiber cloth and hospital-grade disinfectant spray during routine room cleaning.
-
Avoid Abrasive Scrapers: Do not use metal wire brushes, steel wool, or razor blades to clean the sticker surface, as sharp tools can pierce the protective laminate film.
Monthly Inspection Checks
-
Inspect Edges: Check label corners to ensure the adhesive remains intact. If an edge has lifted due to grease or chemical build-up, clean beneath it and press down firmly.
-
Inspect Legend Clarity: Ensure the symbol and text remain completely visible and unmarred by heavy grime or chemical staining.
Troubleshooting Common Issues
Use this guide to quickly diagnose and resolve common sticker application and durability problems.
Issue 1: Sticker Edges Are Peeling Off After Application
-
Likely Cause: The bin surface was dirty, oily, damp, or contaminated with disinfectant residue during installation.
-
Solution: Peel off the damaged sticker, thoroughly clean the plastic or metal substrate with isopropyl alcohol, let it dry completely, and apply a fresh sticker.
-
Issue 2: Air Bubbles Trapped Beneath the Vinyl
-
Likely Cause: The sticker was applied all at once rather than smoothed on gradually with a squeegee.
-
Solution: For small bubbles, use a fine pin to poke a microscopic hole at the bubble edge and press the trapped air out flat with your thumb.
-
Issue 3: Label Placed on Curved/Textured Surfaces
-
Likely Cause: Applying pressure only on the flat center without conforming the edges to textured plastic.
-
Solution: Use a squeegee and apply firm pressure across all edges to force the pressure-sensitive adhesive into microscopic surface grooves.
-
Frequently Asked Questions (FAQs)
Q1: What are the exact dimensions of the AUSKO Biohazard Sticker?
The standard size for the AUSKO Biohazard Sticker is 190 mm × 255 mm.
Q2: What surfaces can the Biohazard Sticker be applied to?
It can be applied to clean, smooth surfaces including HDPE/PP plastic medical bins, stainless steel clinical containers, pedal bins, and powder-coated metal hazardous waste housings.
Q3: Is this sticker resistant to hospital-grade disinfectants?
Yes. The clear protective laminate overcoat prevents water, alcohol wipes, bleach solutions, and commercial hospital disinfectants from dissolving or fading the printed inks underneath.
Q4: Why is visual hazard identification important on medical bins?
Clear visual labels instantly alert workers, clinical staff, and cleaning crews to potential biological hazards, ensuring they use correct handling procedures and PPE.
Q5: What is the best placement location on a clinical waste bin?
Mount the sticker on the upper front panel of the bin body or directly on the top lid surface where it is immediately visible to anyone approaching to dispose of waste.
Q6: Can these stickers be removed without damaging the bin surface?
Yes. If you need to re-label or update a container, heat the sticker gently with a hair dryer or heat gun to soften the acrylic adhesive, then peel the vinyl off carefully. Any residual adhesive can be wiped clear with isopropyl alcohol.